There are plenty of popular Parsi dishes but some just out rank the others. When it comes to Parsi cuisine most of the dishes are predominantly meat based and one popular dish is the Parsi Style Chicken Farcha or Marghi Na Farcha.
What Is Marghi Na Farcha or Chicken Farcha ?
Marghi means chicken in Gujarati which is what the Parsi community speak so marghi na farcha or chicken farcha is a popular Parsi recipe for fried chicken. It’s a fabulously simple recipe that is relished. Each chicken piece is batter fried and has that distinct lacy frilly coating that is synonymous with a lot of Parsi meat based dishes that are deep fried.
Can I Use Boneless Chicken Pieces For Chicken Farcha ?
Traditionally the chicken pieces used are chicken on the bone. Preferably a whole leg piece or even smaller drumsticks but you can absolutely use boneless pieces. Smaller boneless pieces make for an excellent appetizer or party snack paired with a simple dip.
Recipe
Ingredients
500 grams Chicken Pieces ( I’ve used drumsticks or legs )
1 teaspoon cumin powder
1 teaspoon coriander powder
1 teaspoon turmeric powder
1 teaspoon red chilli powder
1 teaspoon salt
1 lime juiced
2 – 3 teaspoons of ginger garlic paste
1-2 teaspoons of red or green chilli paste ( optional )
3 Eggs
1-2 cups of flour (maida ) or semolina ( rava )
Oil
Method –
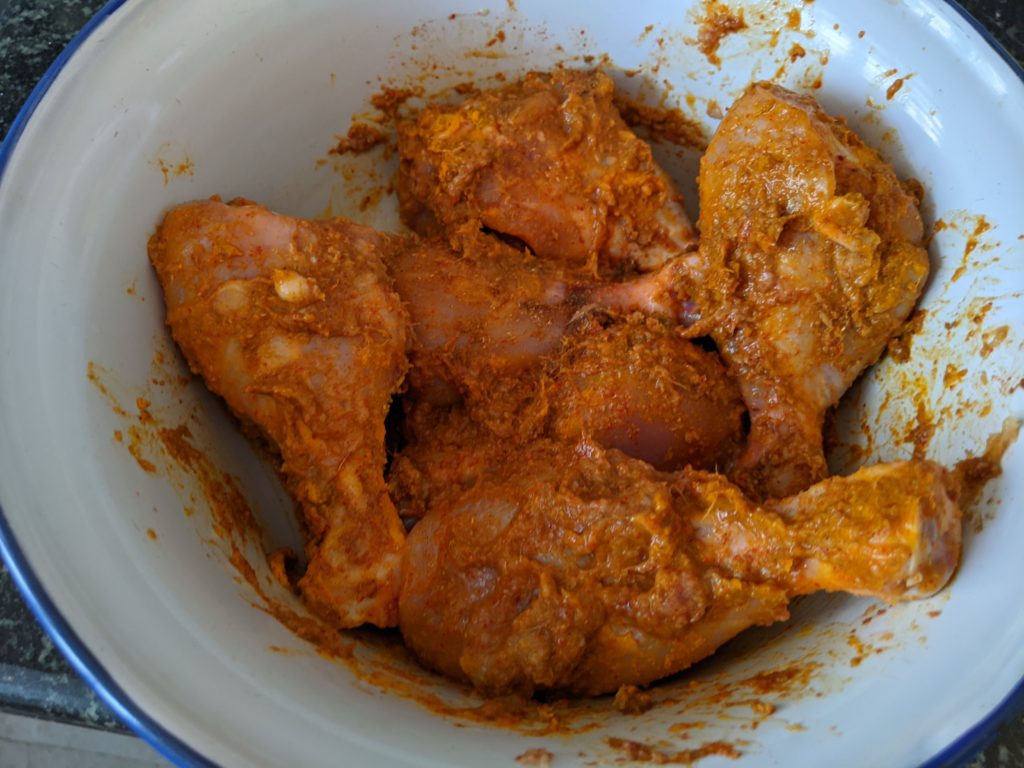
Marinate the chicken pieces in the cumin corainader turmeric and red chilli powder along with the lime juice salt and ginger garlic paste. Mix it all well and let it rest for 4 – 5 hours. If you’re short on time a minimum of 45 mins to an hour.

Crack your eggs in a bowl and whisk well till they all become frothy.
Heat some oil in a wok or deep kadai to fry the chicken. Let it gently heat up you don’t want hot splattering oil but not cold oil either.
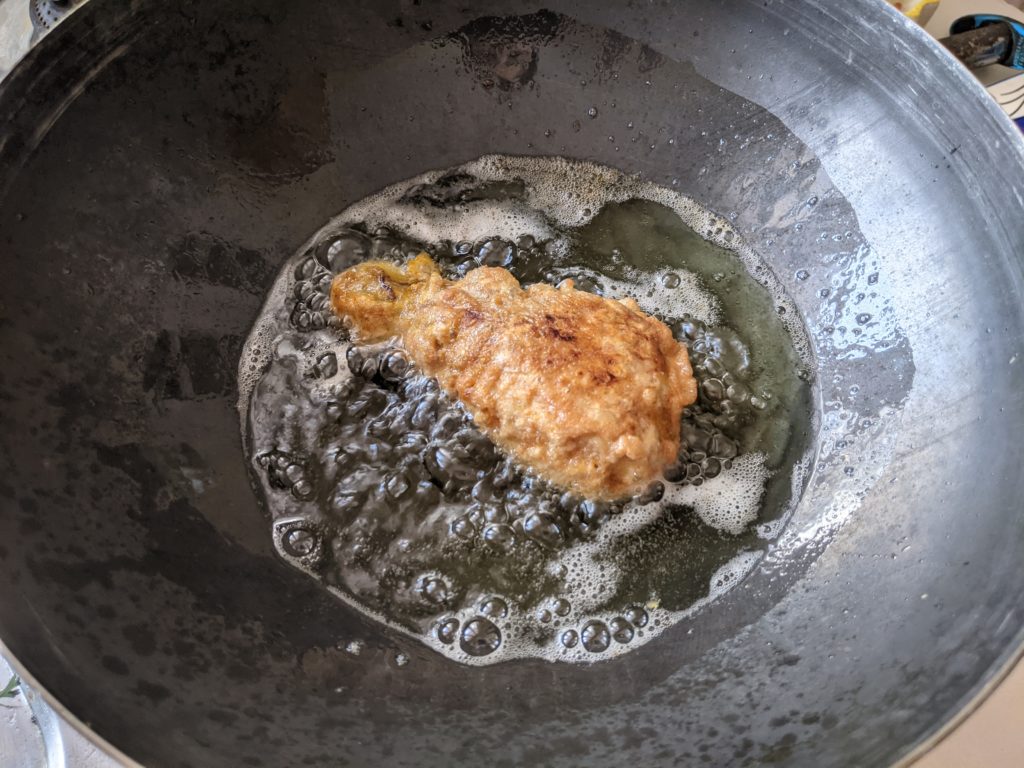
Take each chicken pieces and coat it well first in the flour or semolina and then in the egg mixture and then straight into your wok of oil and cook on a gentle medium to low flame for 10 – 12 minutes. Flip it on all sides so it cooks evenly.

The key here is to cook the chicken on a medium low flame so you don’t burn the outside coating and at the same time the chicken won’t cook. You’ll find your coating to be dark and burnt and the inside raw. Cook gently, it needs some patience and care.
Don’t over crowd the wok or kadai cook upto one of two pieces at a time or as many as the pan can accommodate. Serve hot and enjoy !
In case you feel the chicken hasn’t cooked completely, you can pop it into the microwave for 3 – 4 mins and that should do the trick.
How To Store Chicken Farcha ?
The truth is like most deep fried food it is best eaten fresh. I’d advise marinating the chicken pieces and storing them in the refrigerator for a couple of days even but frying it and eating it fresh. Having said that leftovers stay comfortable in the fridge for upto 4 – 5 days and re heat easily in the microwave.
How To Serve Chicken Farcha ?
If you’re at a wedding or navjote the chicken farcha is another course and often served with potato chips or french fries and perhaps some hard boiled eggs. At home I do the same and make it a chicken and chips meal but you can serve it with a dip or hot sauce even. Most houses will eat it as is without any accompaniment or fan fare.
Can I Pre Cook The Chicken While Making Chicken Farcha?
Yes in some recipes they pan sear the chicken so it’s slightly cooked then wait for the pieces to cool down, coat it in the flour and egg mixture and then fry it. I’m not a big fan of this method I find it alters the taste but it is entirely possible specially if you’re in a hurry.
Other Popular Parsi Recipes
These are some of the other popular Parsi recipes on my website and YouTube channel that might interest you.


Marinated marghi fried into farcha
Ideal accompaniment to go with some vodka
Ably demonstrated
Taste-fully satiated
Our Triple T is the pride of every bawi and bawa!
Hi Roxanne,
The dish looks really premium to me! I am gonna try this at home! Thanks for sharing the recipe and instructions 🙂