I’m what I like to sometimes call myself – a Kheema Connoisseur. It sounds ridiculous I’m well aware, but the truth is I really REALLY enjoy a good kheema dish. Minced mutton or lamb preferably and spiced well, with the right consistency is what I grew up eating. Most of my kheema was typical Parsi style Kheemo eaten with dal chawal or a plain chapati. Then of course those gorgeous mutton samosa and then eventually the Kheema pao at your neighbourhood Irani cafe. This however is a little different. It’s almost a meal made from leftovers but I find it so special that I feel it deserves to be made from scratch.
What Is Kheema Per Eedu
Kheema per Eedu like the many ” per eedu ” dishes the Parsi community obsesses over is nothing but eggs on minced mutton or kheema. We love our eggs so dearly we slap em on almost everything so Salli per eedu – eggs cooked on thin potato straws ( I’ve got a FAB recipe on my blog and youtube channel ) Wafer per Eedu – eggs on wafers or crisps- just as brilliant and then also Tamota Per Eedu – the Parsi version of a Shakshuka and the more adverturous Bheeda Per Eeda – Eggs on Bhindi or Okra etc etc.
Any Difference Between Parsi Kheema/ Kheema Per Eedu/Irani Cafe Kheema Pav ?
They’re all similar yet so different.
Parsi Kheema is more wet or runny. There’s more liquid in it. The recipe is nearly the same for Kheema per Eedu but I kip the potatoes and of course the addition of eggs. I also ensure that for Kheema per Eedu the kheema is not as wet so it holds better with the egg.
The kheema Pao that you find in both Zoroastrian and Muslim owned Irani Cafes are usually more dry much like the Kheema Samosas but the recipe is more of less the same with the inclusion or elimination of a few spices here and there.
Recipe
Ingredients
500 grams mutton mince ( Kheema )
4 eggs
2 medium sized onions chopped
2 -3 medium sized tomatoes chopped
1 teaspoon salt
1 teaspoon red chilli powder
2 teaspoon ginger garlic paste
1 teaspoon turmeric powder
1 teaspoon cumin powder
1 teaspoon coriander powder
1 teaspoon garam masala
2-3 chopped chillies ( optional )
1 bunch chopped coriander
1 bunch chopped mint
1 cup of peas
Method
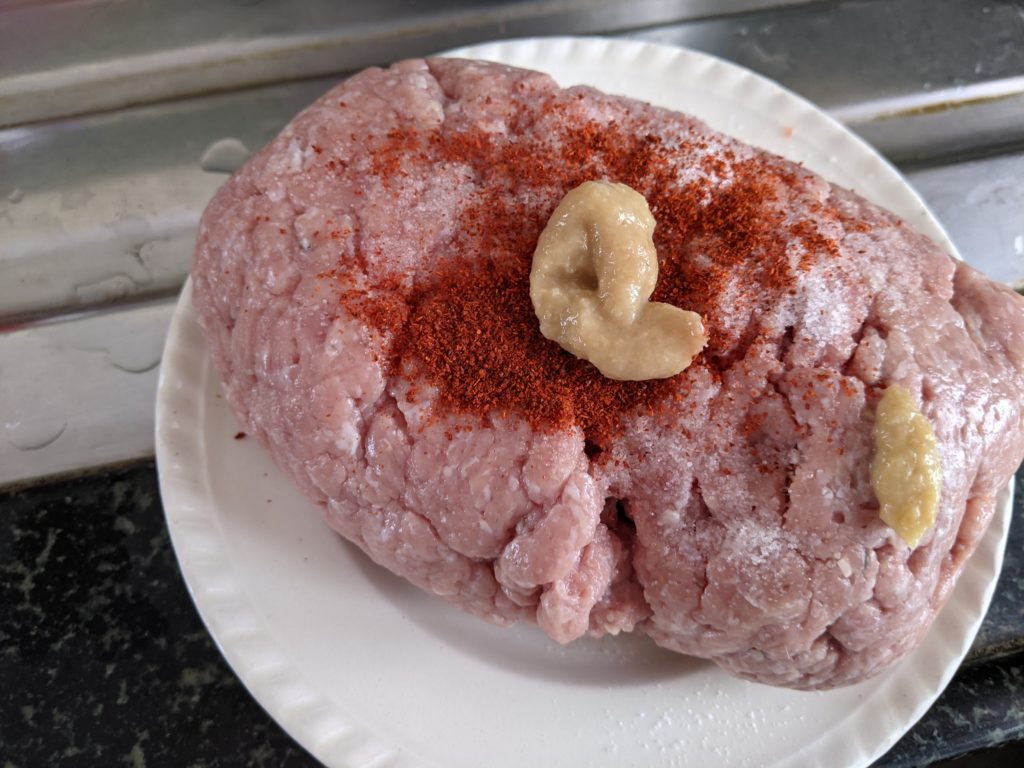
Marinate the mince mutton for half an hour with salt, red chilli powder and ginger garlic paste.
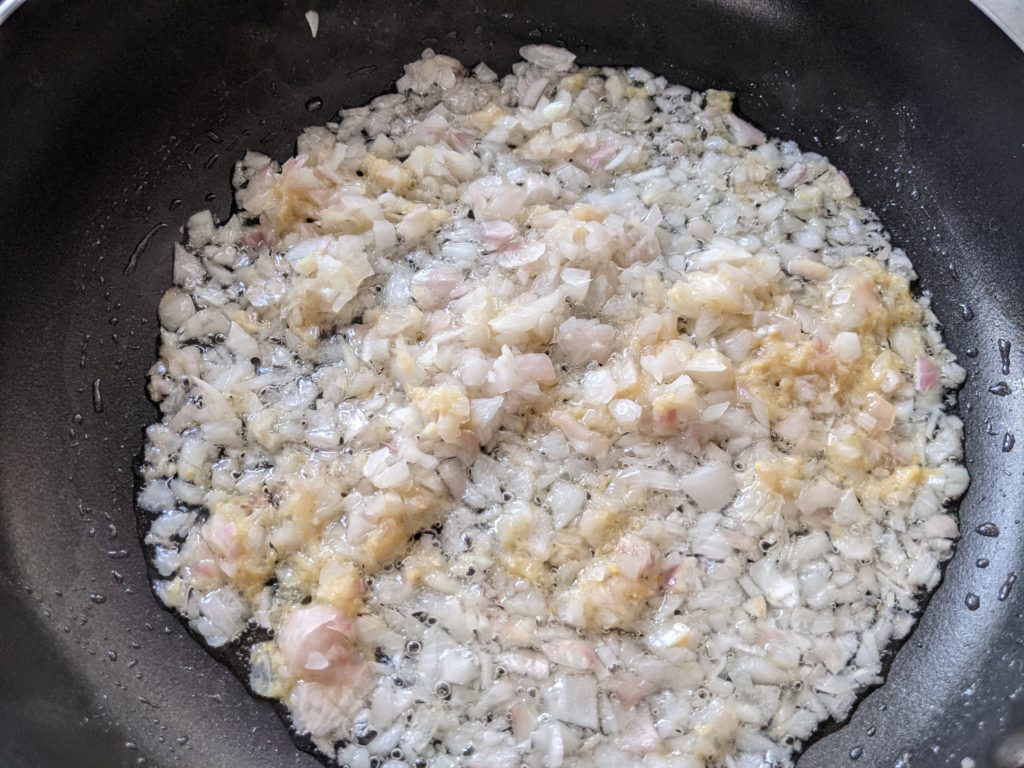
In a flat pan add some oil and sauté the chopped onions. Add some more ginger garlic paste and cook till the onions start to brown
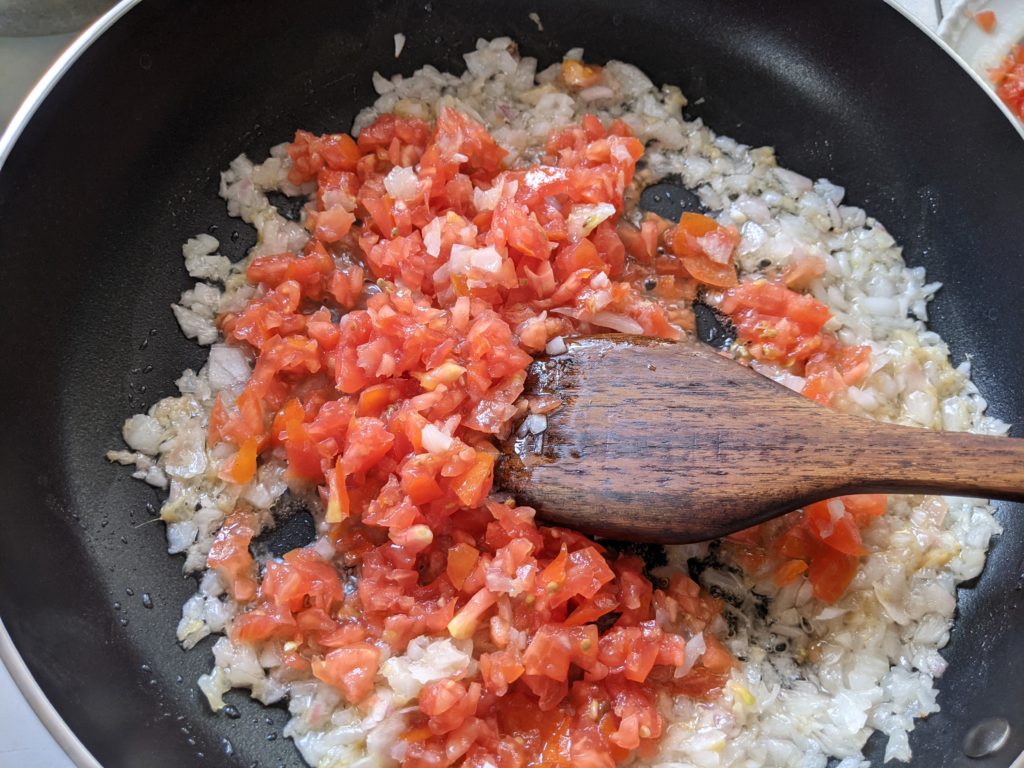
Add in the chopped tomatoes and cook down for about 5-6 minutes till everything softens.
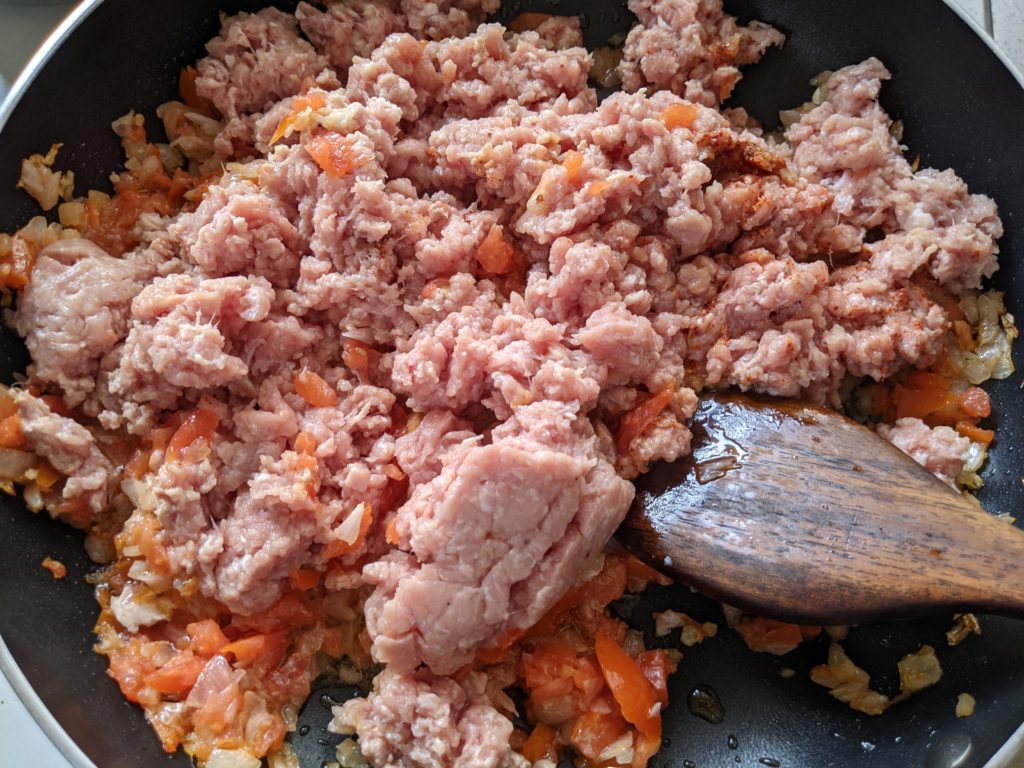
Add in the mutton mince and mix well. Try to mix all the onions and tomatoes with the mutton mince.
Add all the remaining spices – turmeric, coriander, cumin and garam masala powders, perhaps a little more red chilli powder or the chopped chillies if you want it a little spicy. Mix it all together and if you need to add some water little at a time so that the powders spices can mix and cook well with the meat.
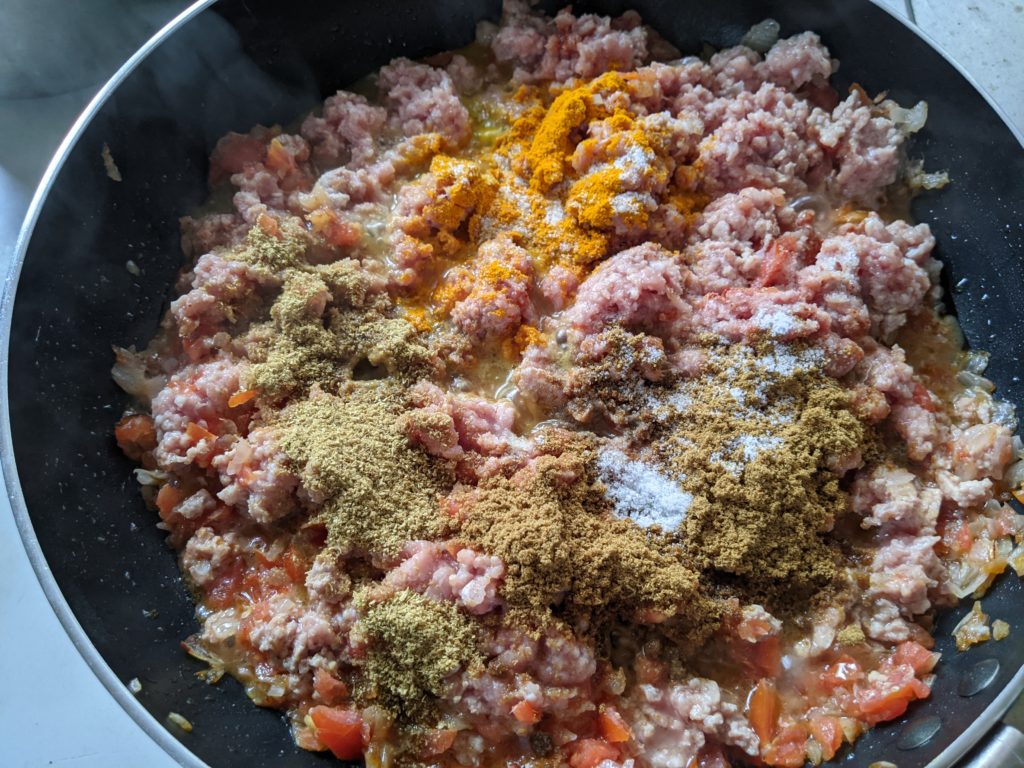
Cook this for another 5-6 minutes. Then add in the peas and the coriander and mint leaves and cook for another 10 mins. We don’t want this mixture to be too runny or wet so cook this on a medium to high flame.
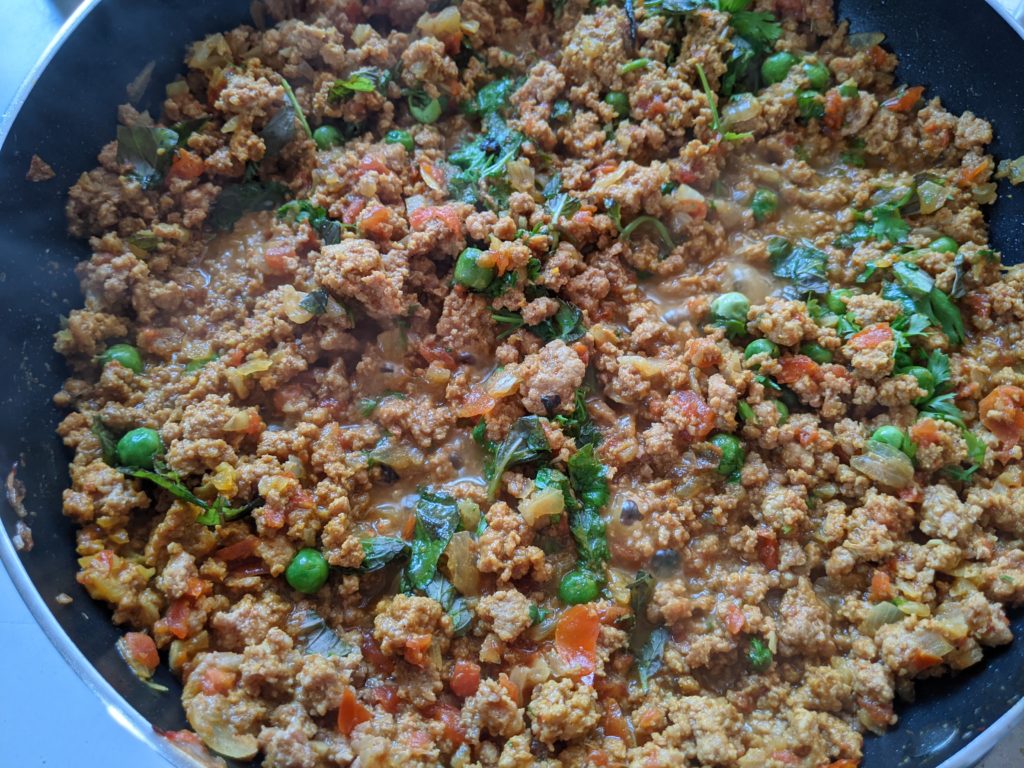
At this point the kheema has been cooking for a total of 20 mins. Make sure the entire mixture cooks for a total of 20 – 25 mins before you add the eggs. In another bowl crack your eggs one by one and pour it over the kheema in the pan. You can add as many as you like but I think 4 eggs in a pan works best.
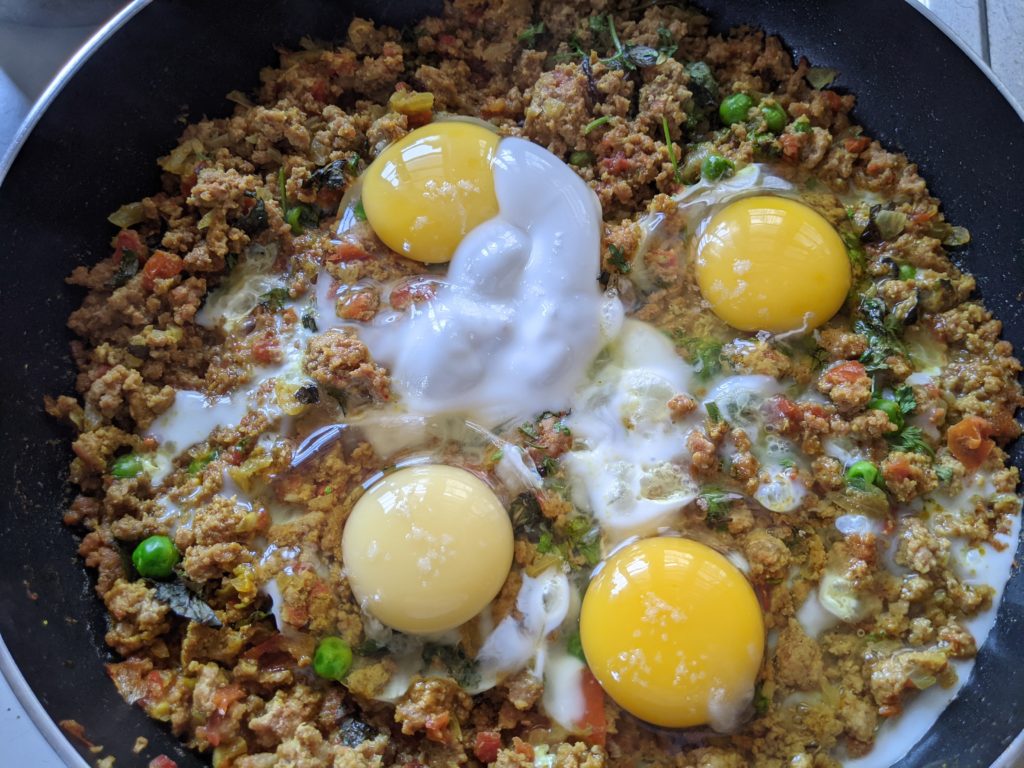
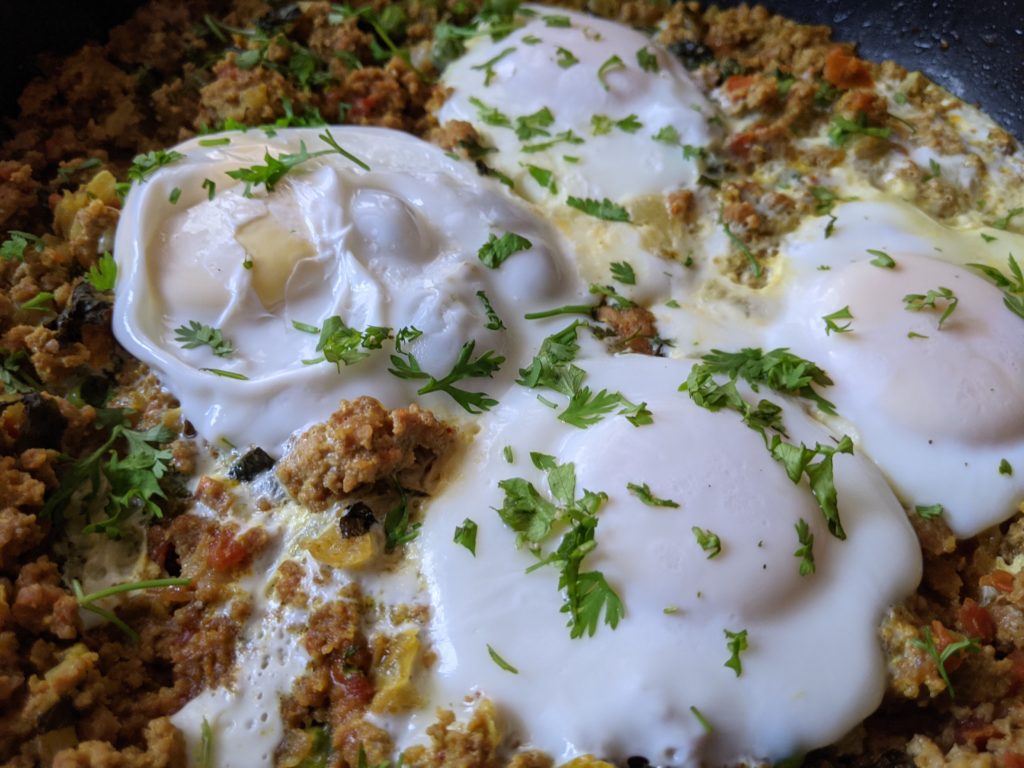
Season the eggs with a little salt and cover and cook for the remaining 5 mins. If you want a hard yolk then a full 5 minutes covered, if you’d like a runny yolk don’t cover the pan and cook for about 3-4 mins or till you feel it’s done.
Garnish with some chopped coriander and serve hot!
How to Serve ?
There’s no hard or fast rule, you can eat this with some toast or bread or just as is. I like to cut out a piece with the egg and eat it as is.


Eggs-on-anything is a favorite of any Parsi
But set on kheema, it’s savored doubly
The Tiny Taster stays true
To the beloved eedu
And demonstrates it here, beautifully!
Great job. Very informative post Filter coffee